

I covered briefly in my last monthly update that Community Cats was chosen for the Indie Games Night Market at PAXU. The Market focuses on games that would have limited channels for selling. This means games not on Kickstarter or signed by publishers. It features niche games, usually with small runs.
Community Cats is a good fit for this because it’s a solo game with a very strong educational theme. I don’t believe it’ll appeal to a wide audience, but feel strongly that there is a specific audience who will love it. I talked about Community Cats in my introduction if you want to go back and learn more about it.
Since being chosen for the Night Market, I’m now in production mode for the game. I originally thought I would make around 25 copies of the game. However, in conversations with previous Night Marketers and attendees, I now think I need to aim higher around 50 or more.
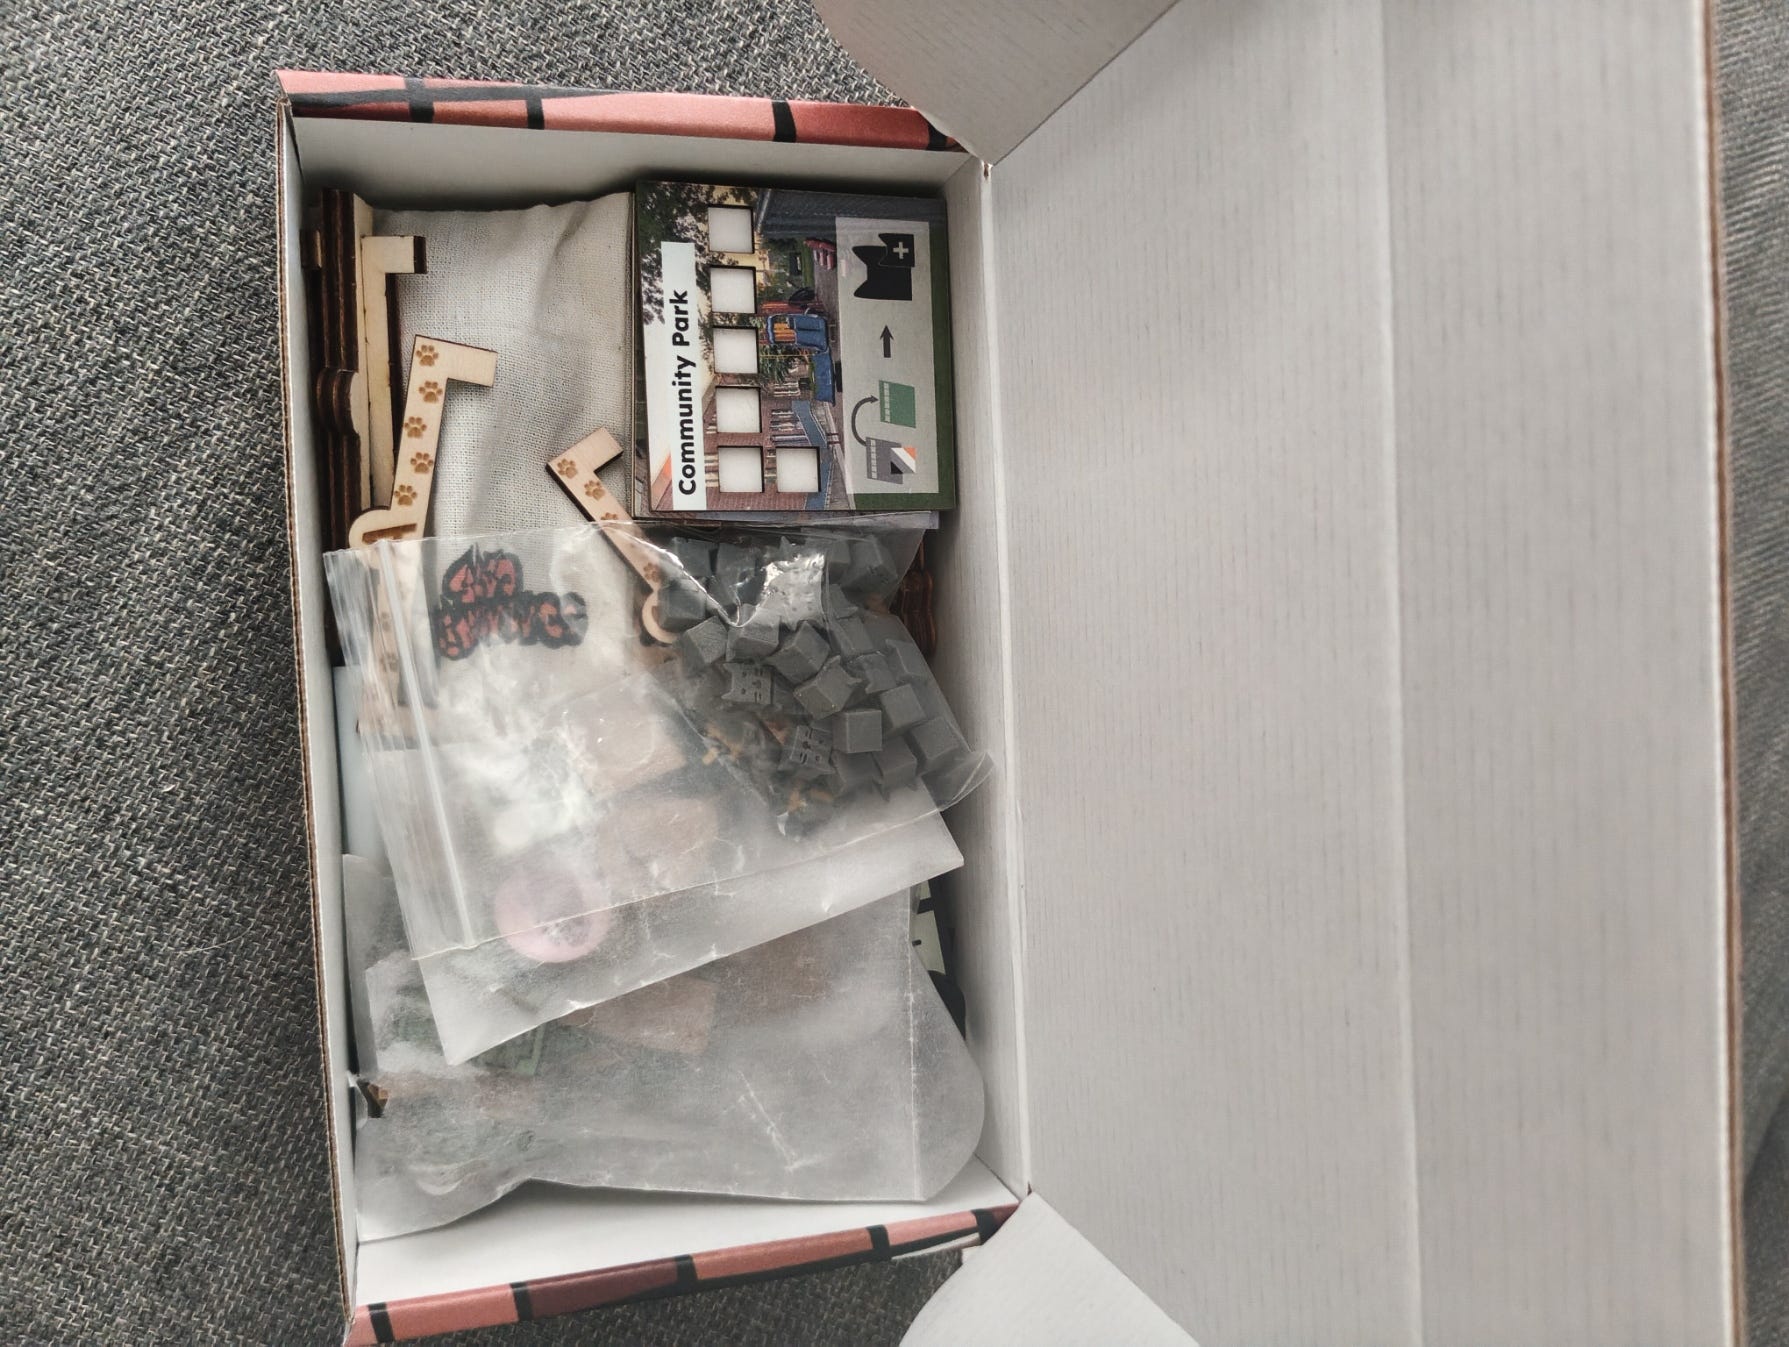
How to Make (Not Design) Community Cats
Community Cats is being produced mostly in my home. There are a few components I decided to outsource.
1) Time. It would take me too much time to produce everything. I needed to make some strategic decisions on where I would spend my time.
2) Quality. I’m not aiming for top-quality production because I’m hopeful buyers will appreciate the DIY-ness. This is different than mass production games. However, I do still need to attract folks with some nice-looking components, for instance, the box.
3) Sanity. Sometimes the best choice you can make is to let someone else do it. For example, I hate stapling rulebooks. While it is costing a little more per copy than I like, outsourcing it saves time and saves me from doing something I dread.
Laser Cutting
I own an XTool P2S 55W CO2 Laser Cutter. For those who don’t know, I’m a huge crafting nerd. These are the sort of things I buy myself for rainy days. The laser cutter does an amazing job cutting out components like wooden meeples and chipboard tokens.
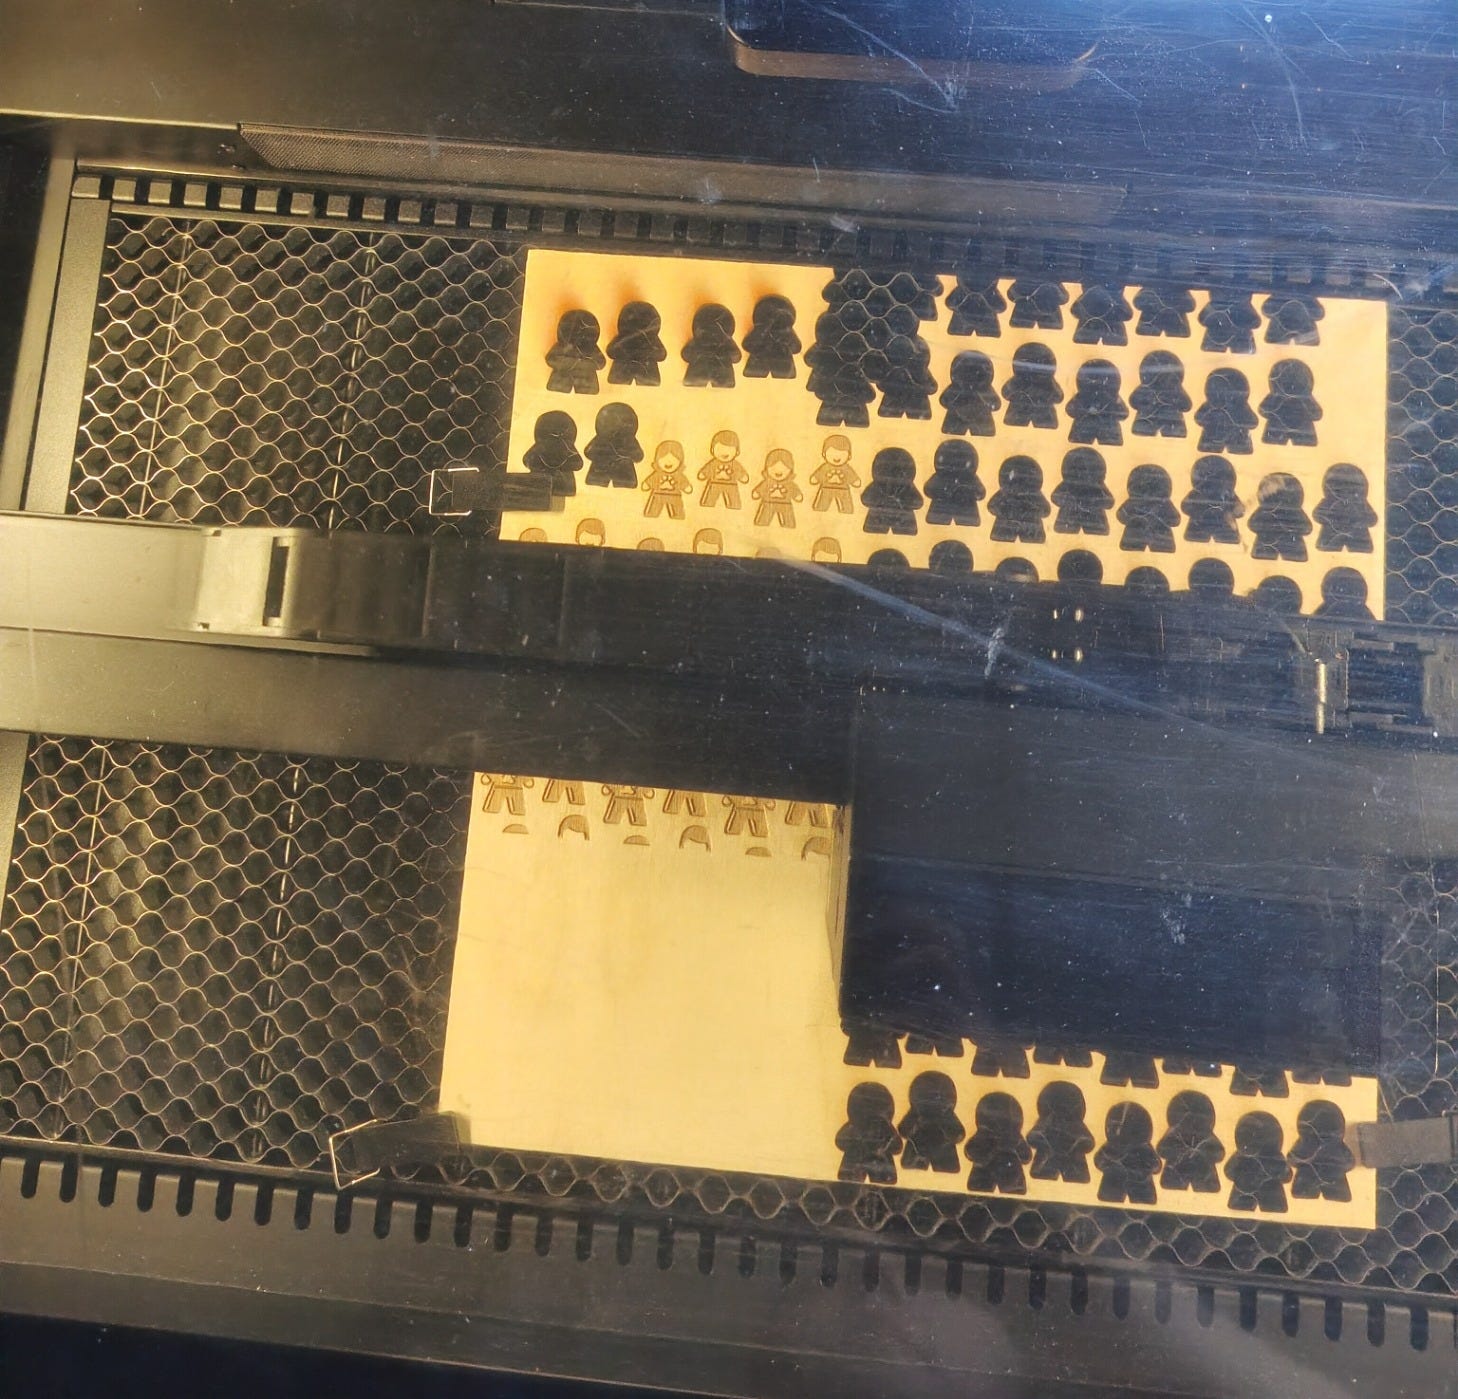
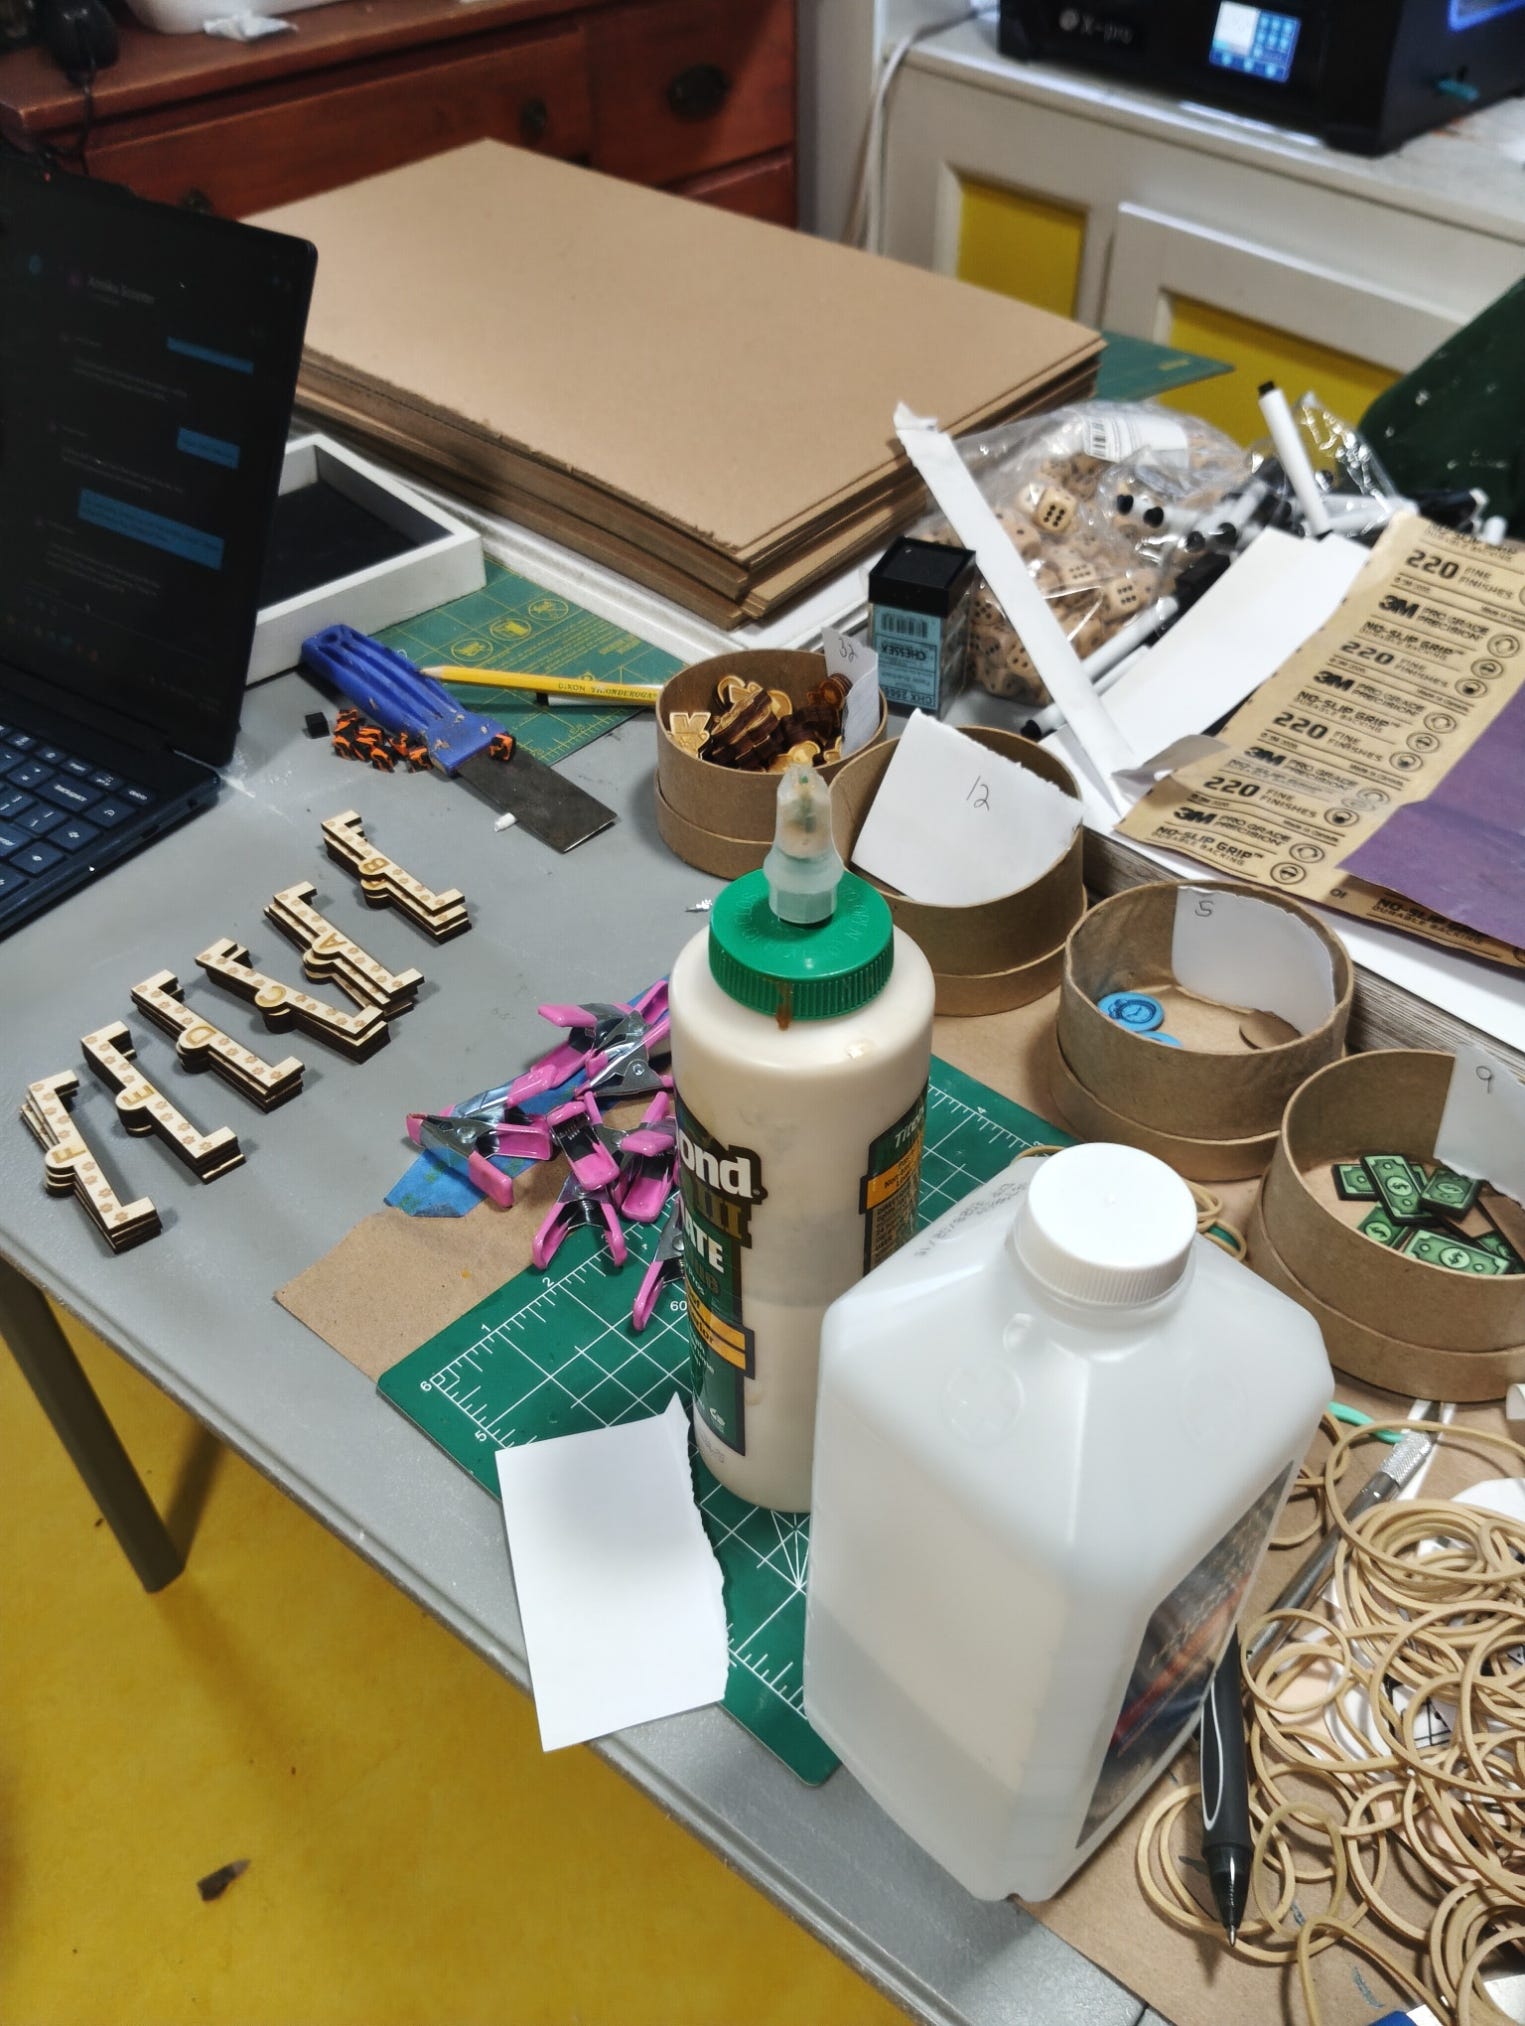
For the tiles and tokens, the first thing I do is print them out on high quality Presentation Matte paper with my Epson inkjet printer. I spray a matte finish over it to help protect from the dust of the laser cutter. Next, I spray glue it onto the chipboard. I give it a day to dry before putting it into the laser cutter. I can probably do an entire post about this process.
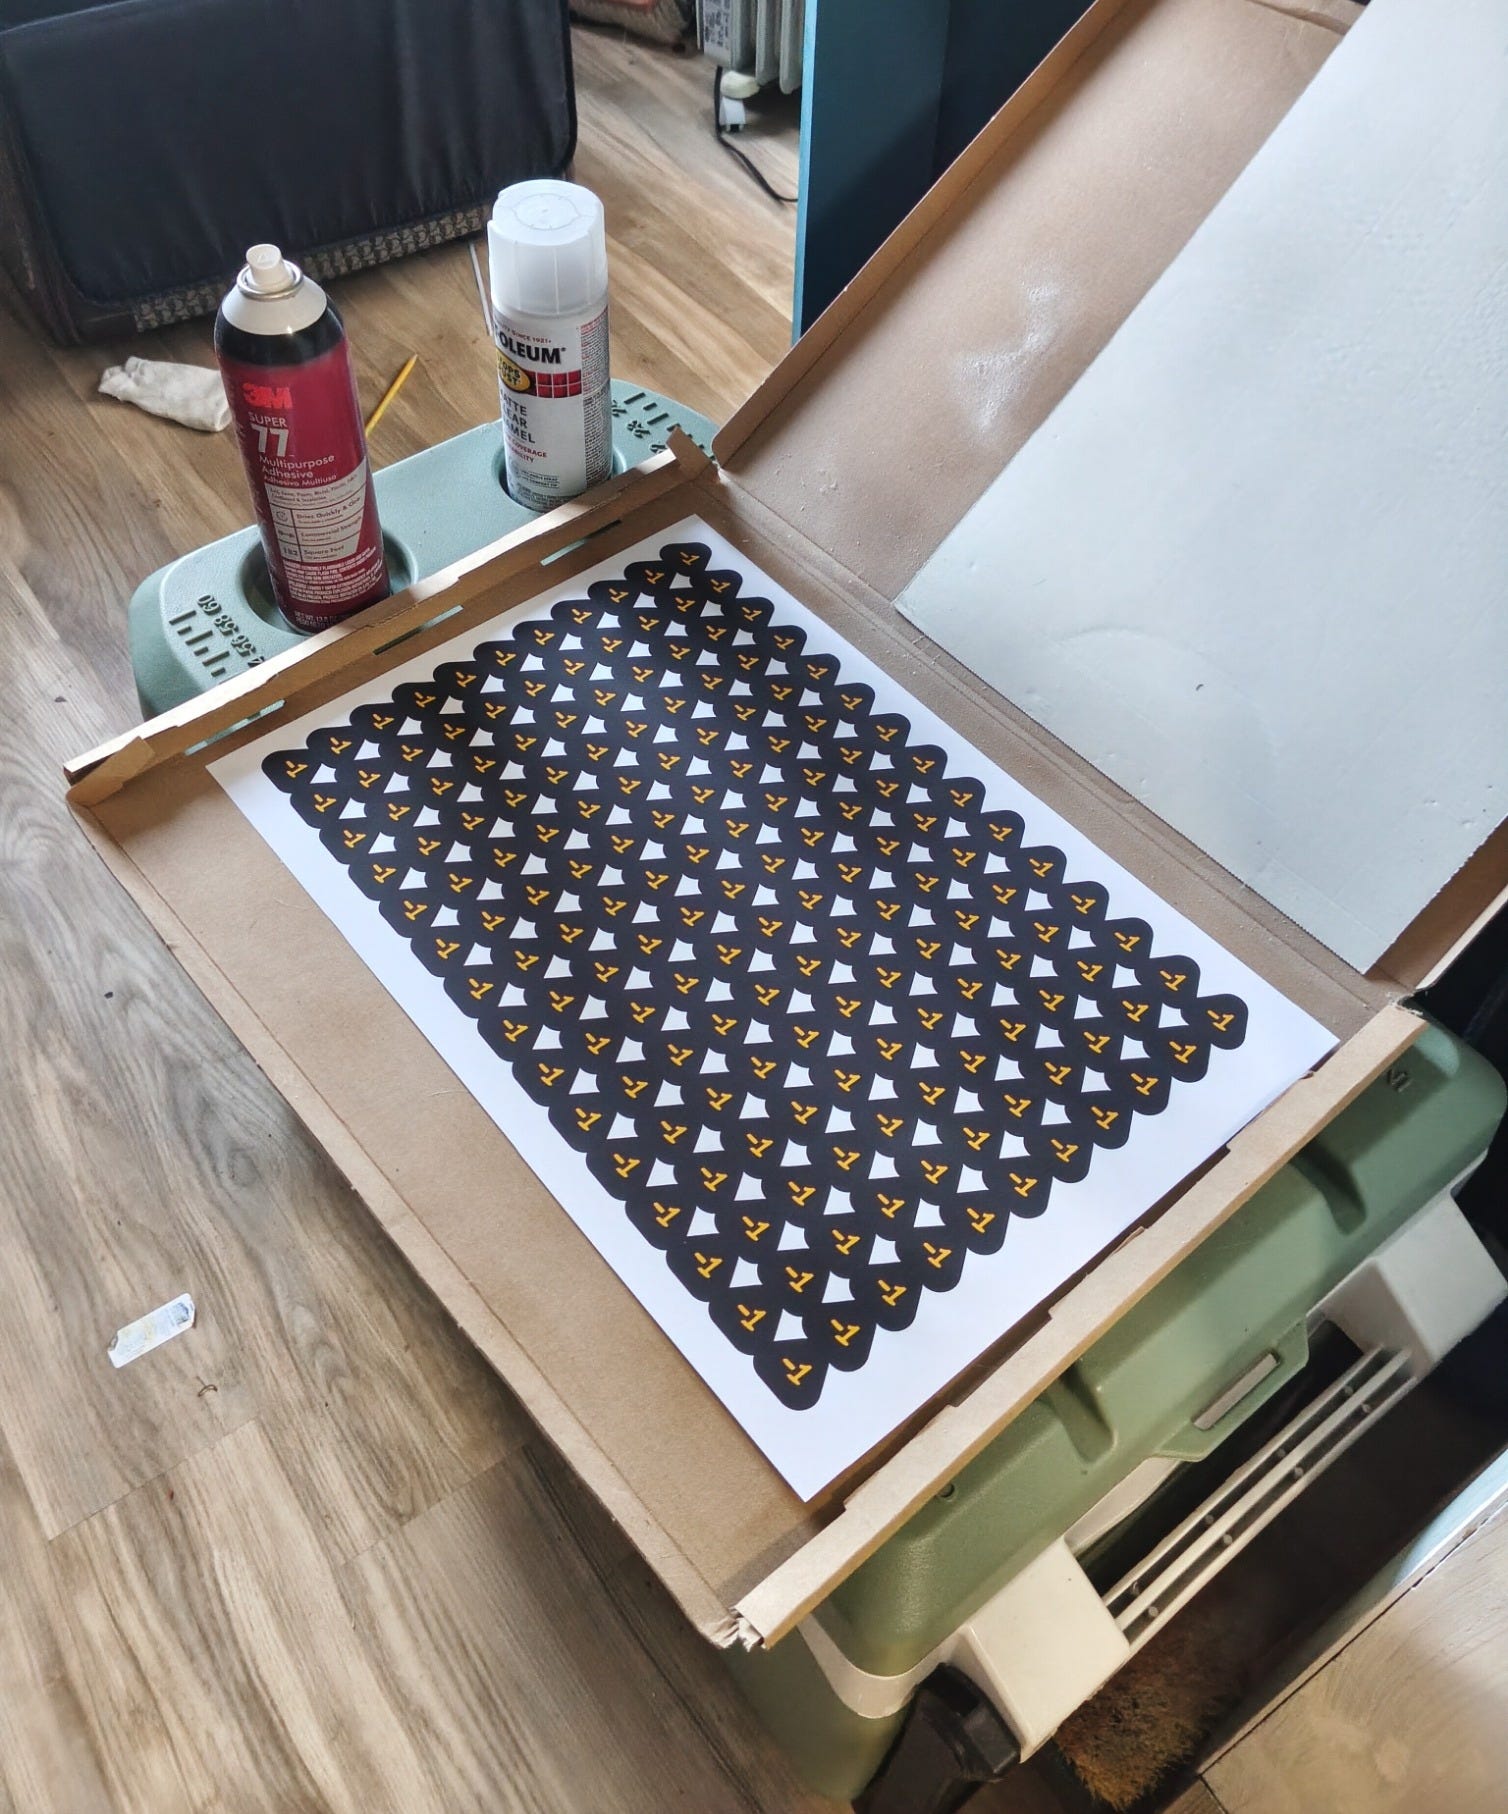
For the Employee meeple, I decided I wanted to have it double-sided. One is a figure with short hair, the other with long hair. The easiest way for me to do this was to cut out both sides from a thinner wood, then glue them together. Since I only need one per copy, this is manageable.
Replacing the Gameboard
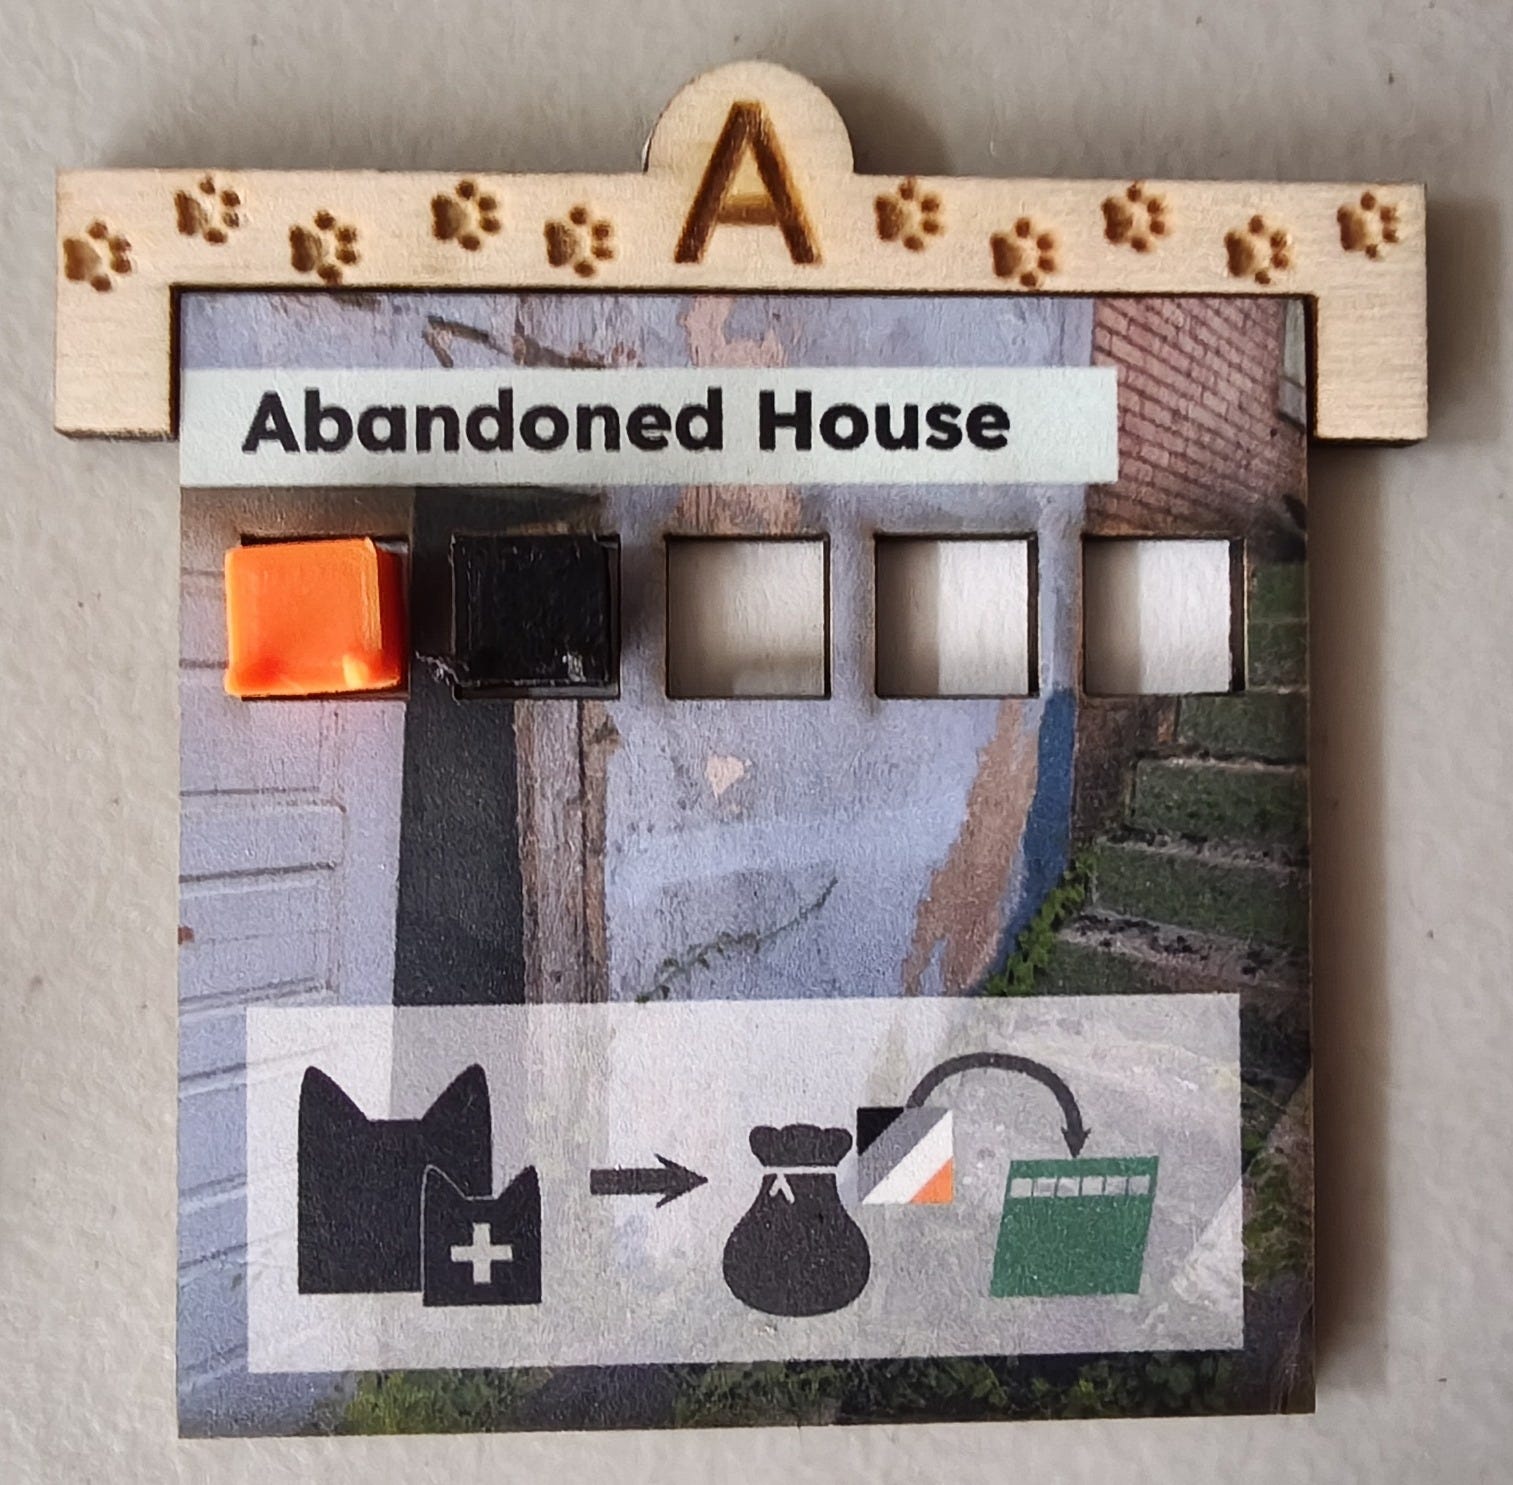
In the earlier version of the game, I had a game board that was placed down so you can tell a colony’s label. This was going to be difficult to produce myself because it’d require scoring the board, or finding tape to make it foldable. I came up with a different solution by cutting out Colony Indicators from the wood. They are brackets that attach to the card. This way I can easily rubber band them together and it takes up a lot less space in the box. While the production will probably take longer, most of it is just waiting on the wood to cut. I do have to sand and clean them, but that can be done while watching TV.
3D Printing
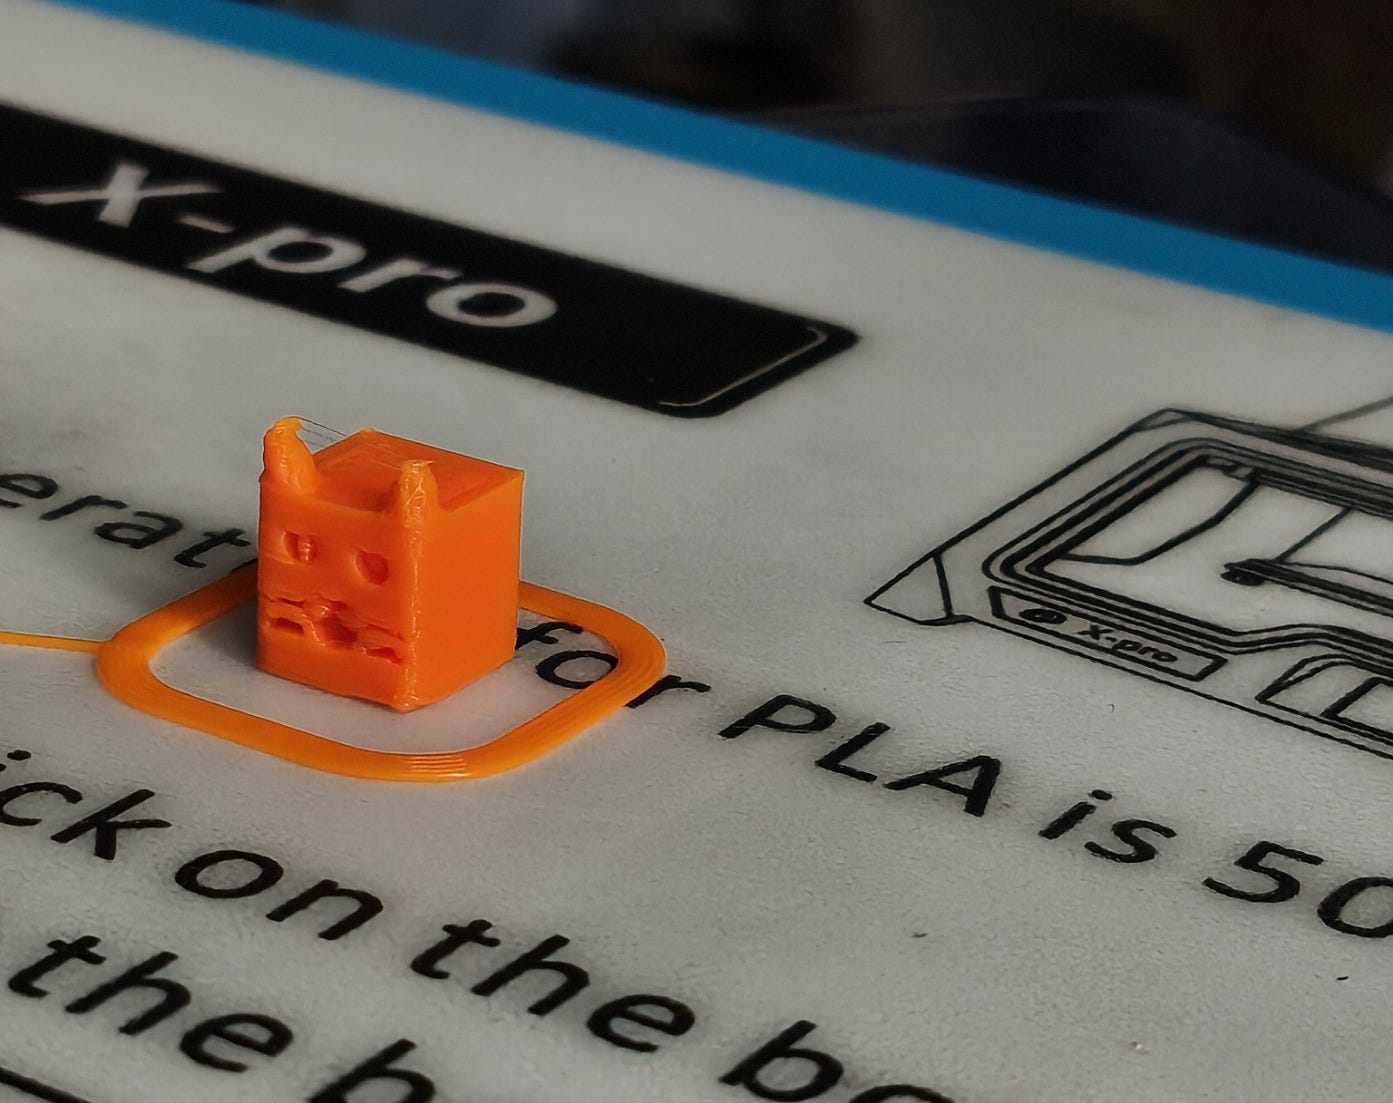
Originally I was trying to avoid using any plastic. However, I do have a 3D printer and lots of spools of filament. So my rationale was that I would not be using newly produced plastic. This would save me on cost since I already have the materials instead of buying thousands of wooden cubes. It also gave me the opportunity to use a custom cat cube. I think it adds to the cuteness of the game.
The Box
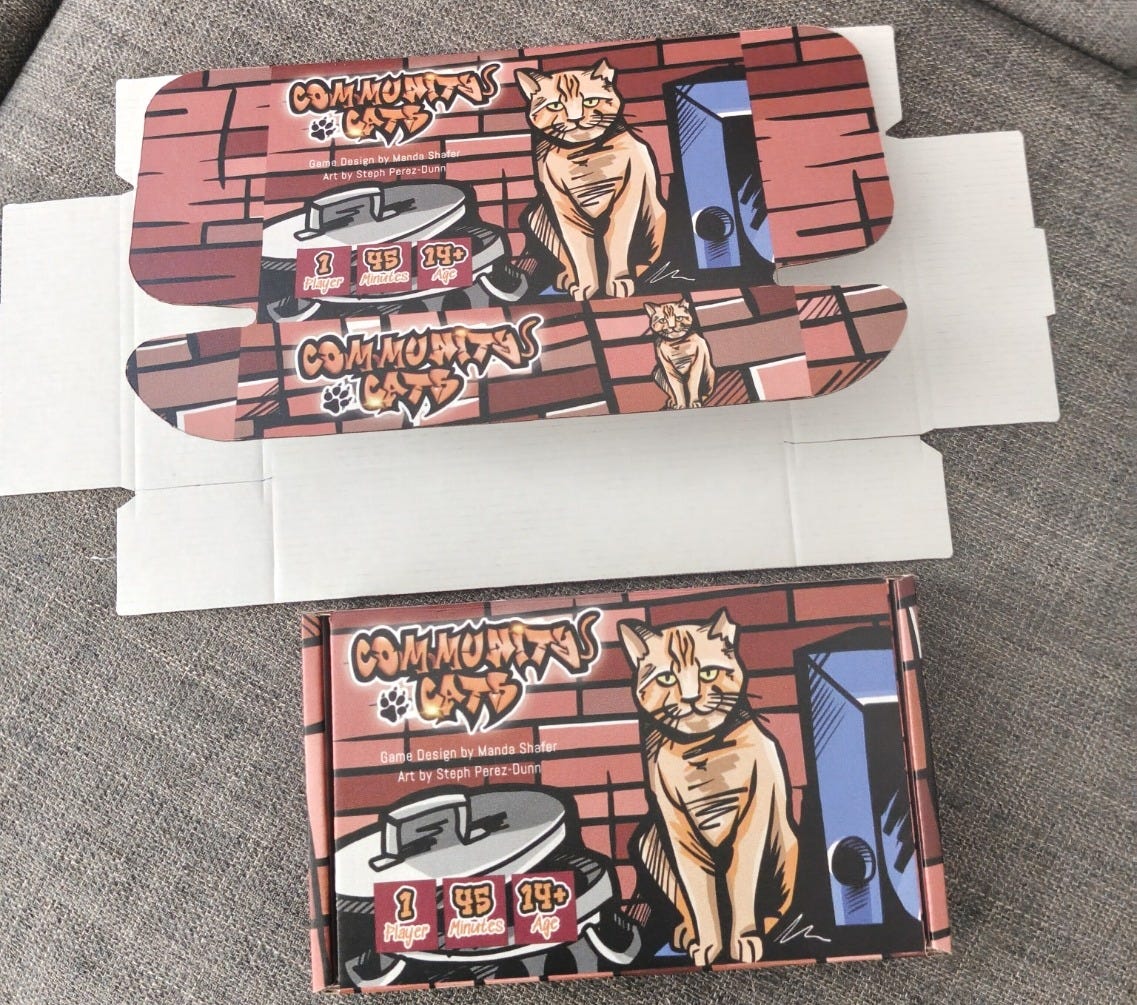
Originally I was going to use shipping boxes and place labels on the front and back. This was a very unpolished look, but it was economical and in line with DIY. However, I recently found an online company that can do print-on-demand shipping boxes. They can print full color on the outside. Also, they don’t have a minimum order amount. This means I can do around 100 boxes and keep it to around $2/box. It’s more than I wanted to spend but the sample they sent looks really good. I think the polished box will help convince some buyers that this is a quality game.
Production Schedule
I’ve made a list of everything I feel certain that I can make ahead of time. Components like the time, money and tasty food tokens have not changed at all. Now that I’ve settled on a box, it’s going to be a little smaller than I had anticipated. That means I have to redo the rulebook to fit. I also want to wait to do the cards and colony locations until I’m satisfied with the scenarios in the back of the book. (This means a lot of playtesting this weekend). So my goal is to finish as much as possible as soon as possible, so that it’ll just be a matter of assembling before the December deadline.
What Do You Want to Hear About?
I’ve only covered a fraction of what it will take to finish this producing this game. However, I know I have to make a record of what I do while I do it, or it’ll get lost. So let me know what parts of the production you want to know more about. I’m happy to share my methods and lessons learned as I go. Use the comments on Substack or find me on Bluesky or Discord.